I'm James. This is my year of travel.
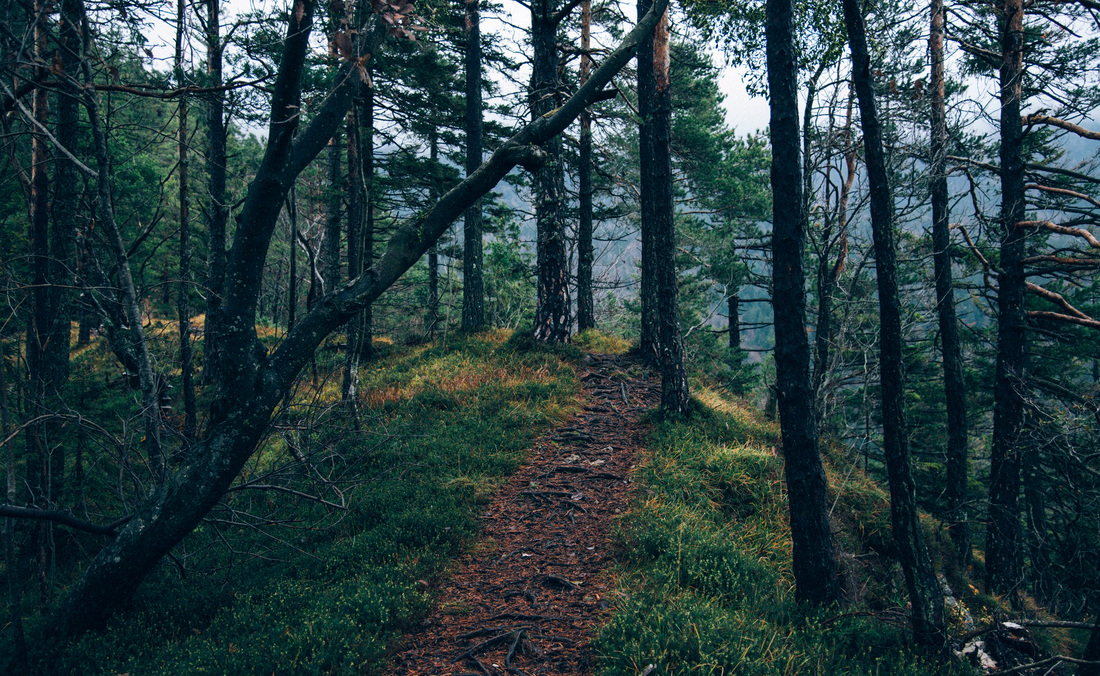
 I hope these tidbits are helpful.Astrophotography is one of the best ways to break the routine and reward yourself with novel experiences that inspire beautiful creations. And, it takes a lot less light than you think! Also remember that this kind of artificial lighting will cause shadows and high contrast if done haphazardly. Second, this is a trial and error technique. It is a nuisance to others who might be trying to enjoy the night sky. If you choose instead to light paint the foreground appreciate that some places (national parks and monuments) prohibit or discourage light painting. If you decide to take two images, one for the sky and one for the foreground, and want to portray the scene perspective as seen with your eye, don’t move the camera and don’t change the focal length between photos. Here’s some things to keep in mind with both. Understand that if you want to create a night sky image that includes a foreground that is not silhouetted you either must (1) arrive early or stay late to capture the foreground image during twilight and edit merge them afterwards, or (2) be willing to light paint the foreground. This technique is truly the better method of two but requires practice. To be successful using the hyperlocal technique you must have a bright light and a hyperlocal chart or app. Hyperfocal focusing technique requires two things (1) knowing your focal length, and (2) being able to focus on an object or person a short distance in front of the camera. Use the + zoom button and find that star in the live view. Find the brightest star you have included in your composition. If there is a lot of light pollution (as there was on this night) focusing on a star is difficult. No matter which you use keep these things in mind There are two options and both require using a manual focus technique, (1) focus on a star or, (2) use the hyperlocal technique. Here’s a couple of things I learned on this photo outing that might help you. However, without a strong working knowledge of basic camera operations and the exposure triangle, capturing truly stunning images will be difficult. If you learn these rules and concepts you can capture some nice night sky photos. Like most photography sub-genres, night sky photography has established rules, best practices and recommended workflows. It would take photos until I returned, or for as long as the battery would last! Once set up I dialed in an exposure and set the interval timer to take photos every 18 seconds with a 2 seconds pause between them. This camera would take continuous images over a 3 or 4 hour period. I set up one camera at the North end of the butte pointed it at Mt. When we reached the top I gave Mark a short mountain top tour. We stopped occasionally to admire the night sky. Mark, a photo friend, and I started up the trail at about 11:30 pm with headlamps and shoe spikes on. The Milky Way galactic center would rise at 1 am and set at 4:30 am in the southeast-south sky. Needless to say my backpack was burdensome. I would use the other camera to capture Milky Way and other night sky photos. I would merged the 400+ photos afterwards to produce a single star trail image. I packed two cameras knowing one would be dedicated for several hours capturing hundreds of star images. Add Redmond, Sisters, Camp Sherman, Crooked River Ranch, and Black Butte Ranch to the list and there are few views that are truly dark. The biggest polluter, Bend, is some 37 miles away.  
Unfortunately Black Butte’s location makes it difficult to escape light pollution. No moon means a darker sky or so I had hoped. Plus I scheduled the outing on a night with a crescent moon that wouldn’t rise until the photo taking was done. The goal this night was to capture Milky Way and star trail photographs.
0 Comments
Leave a Reply. |
 RSS Feed
